Getting Started
The current feature guide summarizes implemented workflows and their boundaries.
Requirements
Termia for macOS requires macOS 13 (Ventura) or later. It runs entirely on your Mac: opening a local terminal and saving hosts to your library do not require an account or a network connection. Signing in is optional; cloud sync and built-in AI providers need it, while BYOK does not.
First launch
Termia is a single-instance app: opening it again while it is already running just brings the
existing window forward instead of starting a second copy. When you open a folder with
open -a Termia <folder>, or drag a folder onto the Dock icon, Termia opens it once the app has
finished starting.
The first time Termia starts on a machine, it decides what to show you based on whether it finds existing data:
- A completely new install shows a local terminal, ready for input.
- If Termia finds an existing database or hosts already saved in your library — for example because you migrated from the Electron app (see Migrating from the Electron App) — it shows the hosts library instead, so you land on what you are used to.
This first decision is written to your settings as the start page (below), so subsequent launches always follow the setting rather than re-detecting anything.
The start page setting
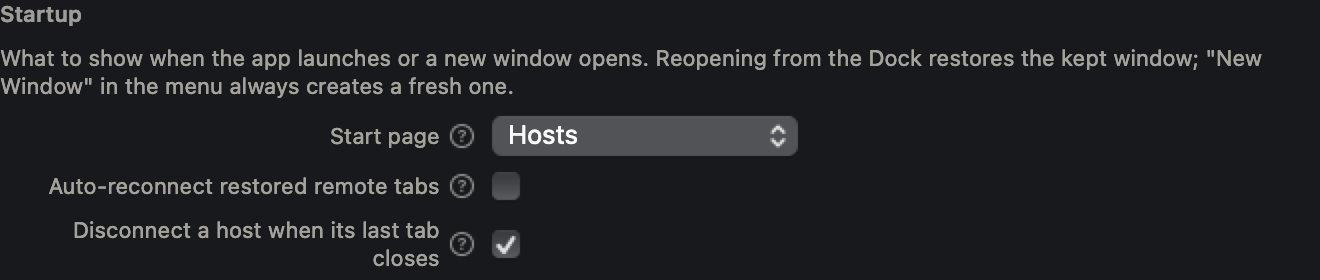
Settings → General → Startup → Start page controls what a window shows when the app launches
or a new window opens (reopening from the Dock reuses a kept window; "New Window" in the menu
always creates a fresh one). There are three options:
| Option | What you see |
|---|---|
| Local terminal | A local shell, ready for input. |
| Restore last session | The last active tab, pane focus, layout and window position come back, exactly as you left them. |
| Hosts | The hosts library comes up first. |
"Restore last session" does not re-run any command — it only restores which tab and pane had focus, the pane layout, and the window's position and size. If the active tab held a remote connection, that connection is not automatically reconnected unless you turn on the option below.
Auto-reconnect
Settings → General → Startup → Auto-reconnect restored remote tabs is off by default. With it
off, a restored remote tab shows "Not connected" with a Reconnect button instead of connecting on
its own; you decide when to reconnect. Turning it on reconnects those tabs automatically at
startup.
Either way, the remote process behind a disconnected tab does not survive the disconnect — losing
the connection ends whatever was running there. If you want a remote session to keep running
across disconnects, use tmux or screen on the remote host.
Opening your first local terminal
If your start page is set to "Local terminal" (the default for a fresh install), you already have
one open. To open another, use ⌘L (File → New Local Terminal) to add a new tab, or use the
pane header's + to add another terminal pane inside the current tab.
Connecting to your first host
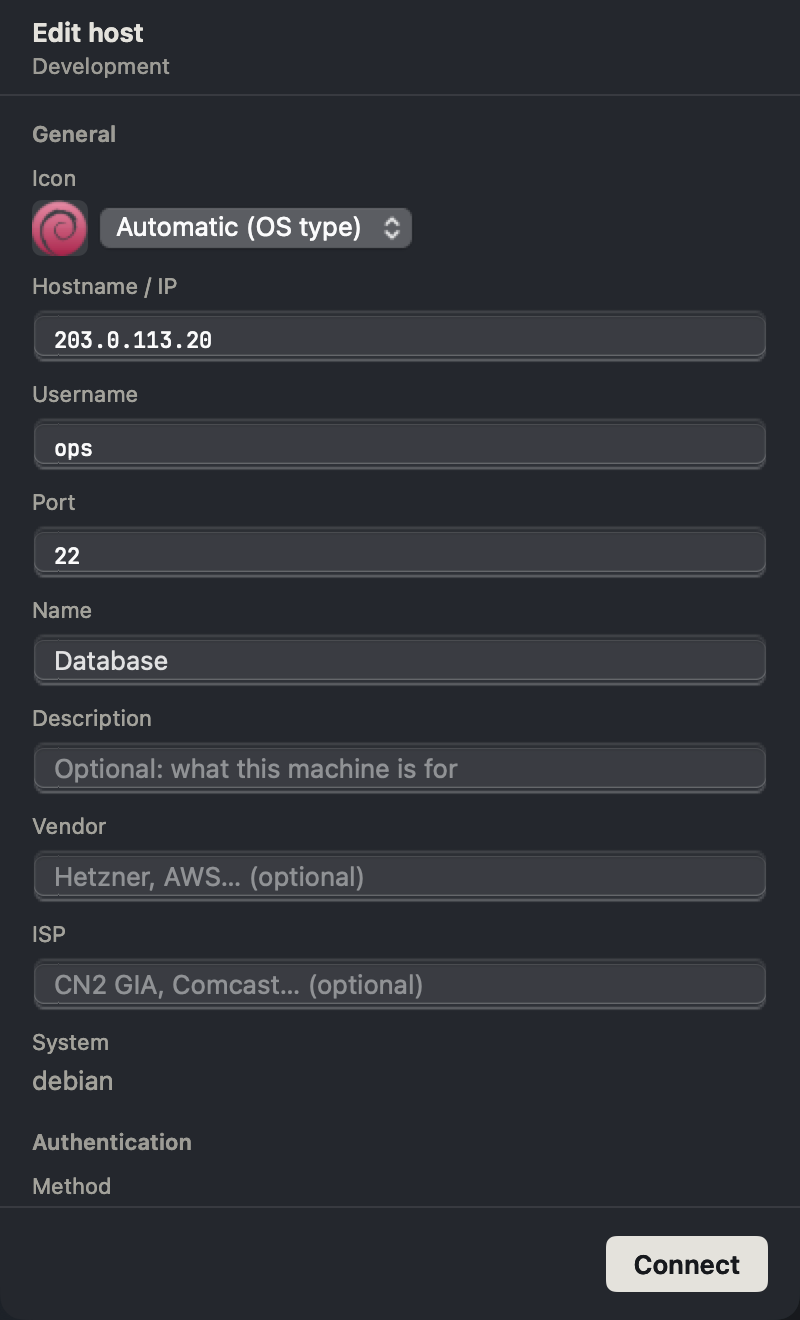
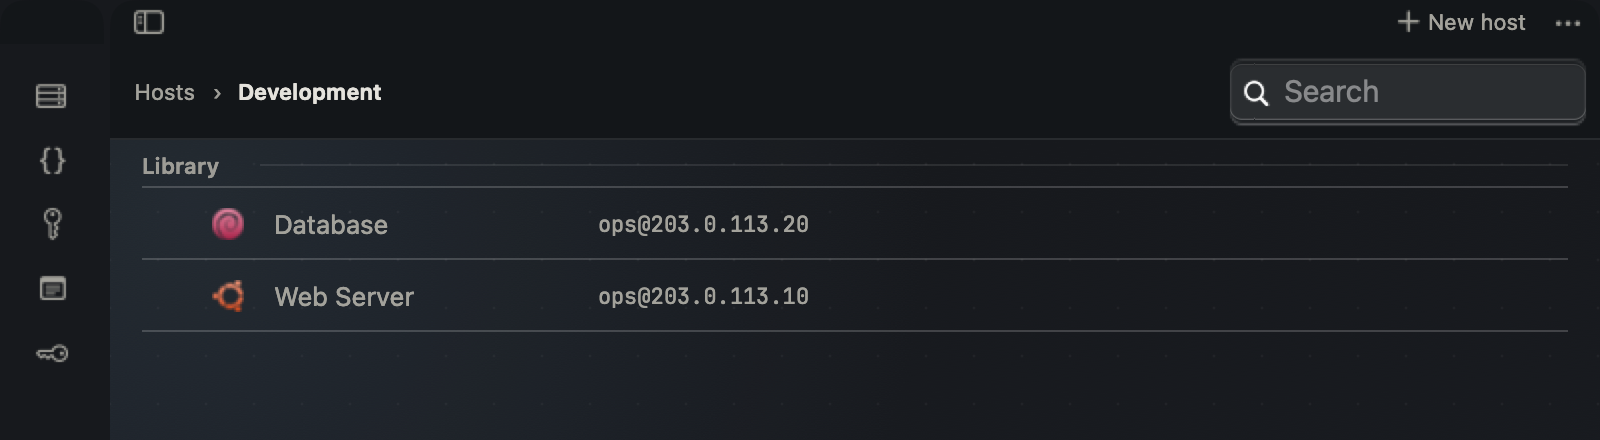
Open the hosts library (File → Hosts, or set your start page to "Hosts"). Click "New host" in the toolbar to open the host editor, fill in the address and the connection details, and save. Back in the library, double-click the host card — or select it and press Return — to connect; Termia opens the connection in a new tab.
You can also type directly into the library's search field: entering something like
user@host and pressing Return connects to it without creating a saved entry first.
Choosing UI language and appearance
Settings → General → Language sets the interface language. The options are System (follow your
Mac's language), 中文, English, 日本語 and Español. Changing it takes effect immediately across
every open window and the menu bar — there is no restart required.
Settings → Appearance → Theme sets the app's appearance: System, Dark or Light.
Where config and data live
Packaged Termia keeps files under ~/Library/Application Support/<bundle-id>/. Development runs use ~/.termia-native-dev/; TERMIA_DEV_HOME overrides the base. Each base has two subfolders:
config/—settings.json,keybindings.json, and your Vaults library (hosts, snippets, notes and environment variables), plus files likeuser.jsonandconnections.json.data/— the local database, along with agent settings and other working files.
You do not need to edit these files directly for day-to-day use; Settings → Advanced gives you
a way to view and edit settings.json from inside the app when you need to.
Signing in
Signing in is optional. In the hosts library sidebar, the account row shows "Local library" with a hint that signing in enables sync across devices. Clicking it opens your browser to complete sign-in. Once signed in, the row shows your email address instead.
Signing in enables syncing hosts and their master key, snippets, notes, environment variables and the sealed SSH key library across your devices — see Account and Sync for what is synced and how conflicts are handled. A local library works fully without signing in.