SSH Keys
The Keys row sits at the bottom of the Hosts page's sidebar, below Hosts, Snippets, Env vars and Notes. Selecting it swaps the main area for a list of your stored SSH keys, with the same right-side inspector used by the other resource pages.
The key list
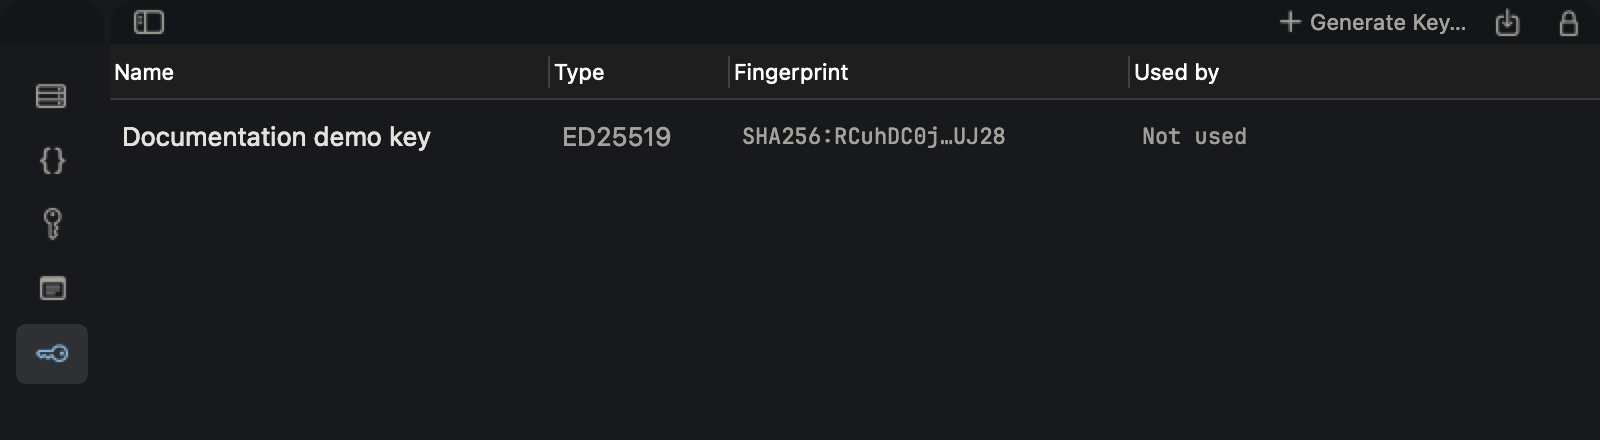
The list has four columns: Name, Type, Fingerprint, and Used by (how many
saved hosts currently reference it, or "Not used"). The header counts how many keys you have.
A fingerprint is too long to show in full in a column, so the list shows its first 8 and last
4 characters with the rest collapsed into …; the full value is in the tooltip, and it is
shown in full in a key's own inspector. Click a row to open that key in the inspector on the
right; right-click it for Copy Public Key and Delete….
Setting up a passphrase
Before any private key can be stored, you set a passphrase for the key store itself. Until you do, the page shows Set Up Passphrase… instead of a key list. The dialog explains the stakes up front: private keys are encrypted with this passphrase before they sync with your account, Termia does not store the passphrase anywhere, and a forgotten passphrase means the keys cannot be recovered. You enter the passphrase twice; it must be at least 8 characters and the two entries must match, or the dialog tells you which of the two failed.
Unlocking
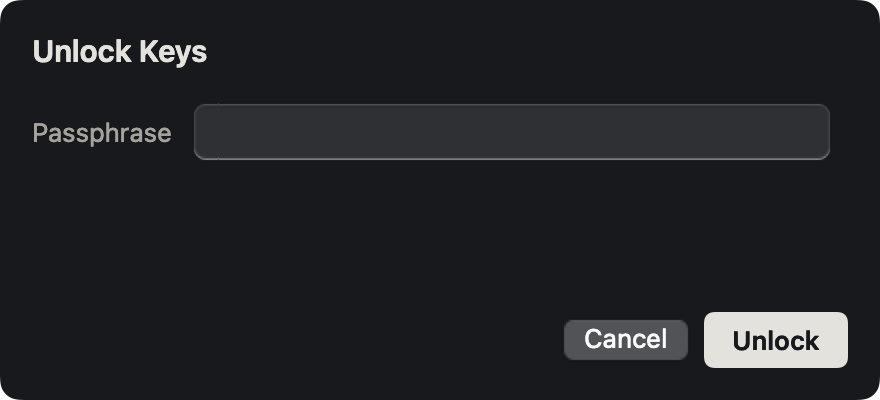
Once a passphrase exists, the key store can be locked or unlocked. Locked, the metadata (names, types, fingerprints, which hosts use each key) is still visible, but a banner across the top says you need to unlock before connecting with these keys or viewing a private key — and if there are no keys yet, the whole page shows that message instead of an empty list. Click Unlock…, enter the passphrase, and the same banner disappears; a wrong passphrase is reported inline on the same dialog rather than closing it. Once unlocked, a Lock button in the header locks the store again.
Generating a key
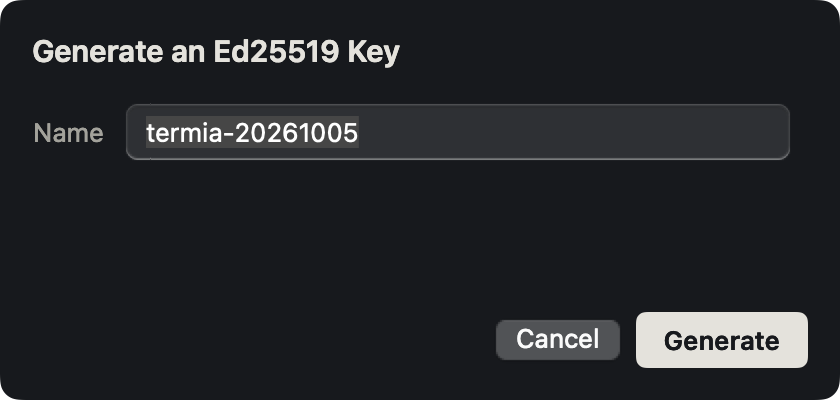
Generate Key… (visible once unlocked) opens a small dialog for an Ed25519 key. It comes
pre-filled with a name in the form termia-YYYYMMDD, using today's date; change it to
whatever you like, but it can't be blank. Confirm with Generate and the new key appears
in the list right away.
Importing an existing private key
Import Key… opens the same inspector used for editing a key, in import mode:
| Field | Notes |
|---|---|
| Name | Required |
| Private Key | Paste an OpenSSH or PEM private key, or use Read from File… to load one (files over 64KB are rejected as unlikely to be a key, and unreadable files are reported too) |
| Key's own passphrase | Only needed if the private key file itself is passphrase-protected; Termia uses it once, during import, to unlock the key — after that, connecting with it never asks again |
The private key text field turns off autocorrect, smart quotes and dash substitution, since any of those silently corrupt a key. Import doesn't complain about an empty key field until you try to submit; a key you're clearly still typing isn't yet "wrong". If the passphrase you gave doesn't open the key, or the pasted text doesn't parse as a private key, or the store is still locked, the failure is reported in plain language rather than the server's raw error text. If the store turns out to have been locked again in the meantime — say, from another device — the unlock dialog reopens automatically instead of just failing, so you can unlock and try the import again.
Renaming
Click a key in the list to open it in the inspector. For an existing key you can only change
its Name — everything else (Type, Fingerprint, Used by, the public key text) is read-only
reference information, with a Copy Public Key button next to it. Change the name and the
single Save button becomes active; ⌘S also saves. Closing the inspector with an
unsaved name change prompts you to save, discard, or keep editing, the same as the other
resource pages.
Revealing the private key
The private key itself is never shown by default — the list only ever carries public
metadata. Show Private Key…, in the inspector's ··· menu, asks for confirmation first
("the private key is shown in plain text and can be copied — anyone who can see the screen
can read it"). Confirming opens a read-only panel with the key in a monospaced, selectable
text view and a single Copy and Close button, which copies it to the clipboard and
dismisses the panel in one step. If the store has been locked since you opened the page, this
also reopens the unlock dialog first rather than failing outright.
Deleting
Delete a key from its row's right-click menu or the inspector's ··· menu. The confirmation
names how many saved hosts currently use it, since deleting it removes their ability to
connect with that key: "N hosts use this key and will no longer connect with it. The private
key is removed from Termia and from sync. This can't be undone." A key nothing references
gets a shorter version of the same warning. Unlike deleting a host, there is no undo window —
confirming removes the key immediately.
Picking a stored key in the host form
In a host's inspector, set Authentication to Key and the Key dropdown lists every
key in the store as <name> · <TYPE>, with Identity File… at the bottom as a fallback to
a key file path instead of a stored key. Picking a stored key clears any identity-file path
you had typed (and vice versa), so a host is never saved with both pointing at different
things. If the key store has nothing in it yet, the dropdown shows a disabled "No stored
keys" placeholder and the form falls back to the identity-file path.
If a host was already configured to use a key that has since been deleted from the store, the dropdown keeps a disabled entry for it so saving the form doesn't silently drop the reference, and a note under the dropdown says the selected key is no longer in the key store until you pick a different one or switch to a key file.