Getting Started
Termia is a desktop terminal (Electron + Go) that adds a host library, remote connections, file preview and an in-terminal AI agent on top of a regular shell. This page covers installing it, what you see the first time you open it, signing in, and the first few things to try.
This app is what Termia ships for Windows and Linux. macOS has its own native client, which is a different application with its own documentation — start at Termia for macOS. If you previously ran this app on a Mac, see Migrating from the Electron App for what carries over.
The current feature guide summarizes implemented workflows and their boundaries.
Platform requirements
| Platform | Architectures | OS version |
|---|---|---|
| Windows | x64 | Windows 10 version 1809 or later, Windows 11 |
| Linux | x64 | glibc 2.28 or later (Debian ≥10, RHEL ≥8, Ubuntu ≥20.04, etc.) |
Both platforms are packaged x64-only for now: electron-builder.config.cjs sets no arch
override for Windows or Linux, so each builds with the default architecture only.
Installing Termia
Termia is packaged per platform:
- Windows: an NSIS or MSI installer, or a
.zip - Linux:
.deb,.rpm,.snap,.AppImage,.pacman, or a.zip
Get the installer for your platform from your organization's release channel, or build it yourself
from source — see the root README for
build requirements and task package / task package:enterprise.
Data and config locations
Termia keeps its settings and its data in separate directories, both named after termia, not the
upstream project it was forked from:
Config (settings.json and friends) lives at ~/.config/termia on both platforms, Windows
included — it does not follow the usual per-platform convention.
Data (the local database, logs and runtime files) is platform-specific. Vaults files live under the configuration directory:
- Windows:
%LOCALAPPDATA%\termia\Data - Linux:
~/.local/share/termia
Both locations can be overridden with the TERMIA_CONFIG_HOME and TERMIA_DATA_HOME environment
variables (or $XDG_CONFIG_HOME / $XDG_DATA_HOME). See Configuration for what
lives inside the config directory.
A remote host you connect to gets its own copy of the wsh helper installed under ~/.termia on
that machine — see Connections.
First launch
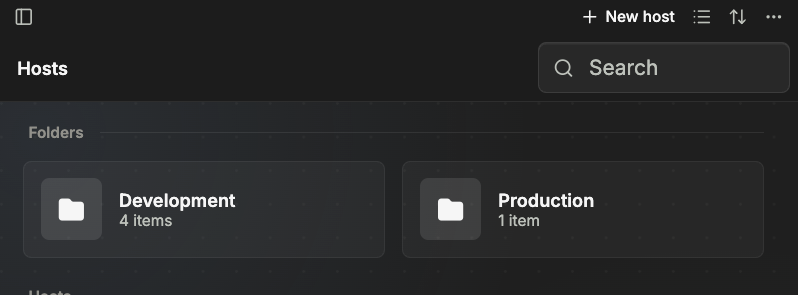
What you see on first launch depends on how the build was configured:
- Standard build: Termia opens straight into a window with one tab, containing a single terminal block, ready to use. No account is required — the terminal, tabs, layout, widgets and local file preview all work fully offline.
- Enterprise build with no server address baked in: before the main window appears, Termia shows a one-time setup screen asking for your organization's Termia server address (your IT administrator provides this). Enter it and click "Connect"; once it succeeds, the address is saved and this screen does not appear again. An enterprise build that already has a server address configured skips this screen entirely.
Signing in
Signing in is optional — everything local (terminal, tabs, layout, widgets, local file preview) works without an account. Signing in adds:
- Cloud sync for hosts, their master key, snippets, notes, environment variables and sealed SSH keys
- Access to the built-in AI models for the Termia Agent (a custom, bring-your-own-key model still works without signing in)
To sign in:
- Click the avatar button in the top-right corner of the tab bar (tooltip: "Settings").
- On the Account tab, click "Register or sign in".
- Termia opens the login page in your default browser. Complete sign-up or sign-in there.
- The app picks up the finished session automatically and the Account tab now shows your email and a "signed in" status.
To sign out, return to Account and click Log out. Local cleanup is optional; host and credential files are retained. See Vaults Sync and Versioning for the exact scope.
First things to do
Open a terminal
The first tab already has a terminal block running your default shell — just start typing. From there:
Use the Add Pane menu for a terminal, or New Local Terminal (tab:new) for a tab. See Key Bindings for current platform/preset shortcuts.
New blocks and tabs use whatever shell your OS account defaults to (bash, zsh, fish, PowerShell,
etc.); wsh — Termia's own CLI — is available inside every terminal block for talking back to the
app (see wsh Command).
Save a host
Click the house icon at the top-left of the tab bar (tooltip: "Home") to open the Vaults panel, or
use Switch connection (conn:switch) with a terminal block focused to open the connection switcher instead. From
the connection switcher:
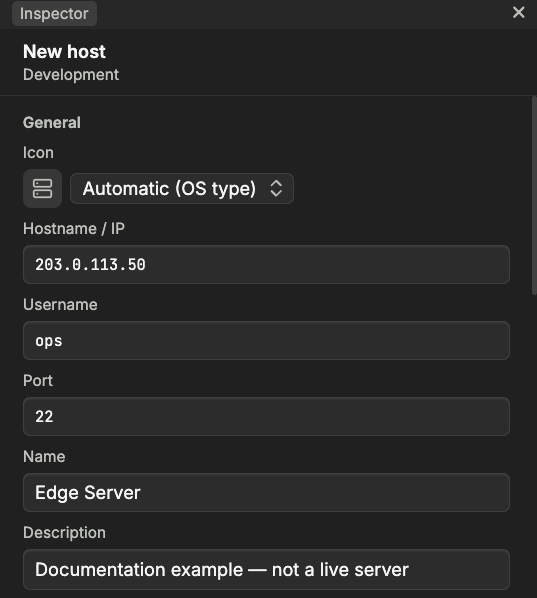
- Pick an existing saved host to connect to it, or
- Type
user@hostdirectly to connect once without saving it, or - Choose "New SSH Host" to fill in host, username, port and an auth method (password or private key), then "Save & Connect".
Saved hosts live in your local Vaults; see Hosts and Vaults for the full picture and Vaults Sync and Versioning for syncing them across machines.
Connect
Once a host is saved, reconnect to it any time from the connection switcher (Switch connection) or by
opening a new terminal block against it. If the remote host is reachable but its remote helper
(wsh) fails to install, the terminal itself still works — only file browsing, system monitoring
and the remote Termia Agent are affected until you fix the underlying issue (disk space,
permissions, a read-only filesystem, or an unsupported remote platform) and reconnect. See
Connections for details.
Next steps
- Learn the rest of the shortcuts in Key Bindings
- Arrange your blocks with Layout
- Add shortcuts to your own tools with Custom Widgets
- Run an AI agent inside a terminal block with Termia Agent
- Dig into
settings.jsonand the rest of the config directory in Configuration